Cooking is a rewarding experience.
But preparing a dish to perfection can also be quite frustrating.
Everyone makes mistakes in the kitchen.
And this, whether you are a beginner or already experienced and in the process of perfecting your culinary skills...
Whether it's throwing away pasta cooking water or choosing the wrong cuts of meat...
Today, I show you the 36 mistakes to avoid when cooking!
And of course, I'll also show you how to fix and avoid making those rookie mistakes.
Here are 36 mistakes everyone makes in the kitchen and how to avoid them! Watch:


Putting too many vegetables in the oven dish is heading straight for disaster...
A disaster all soggy and without crunch.
I know I know. When we cook, we tend to get carried away.
Often, we are tempted to put as many vegetables as possible on the baking dish or in the pan.
But by filling your pan or oven dish, the humidity will increase and the ingredients will soften .
So whether it's roasting, frying, sautéing or pan-frying vegetables...
Always leave enough space between your ingredients.
This way, each piece will cook evenly and completely, and you'll get a nice golden brown finish.
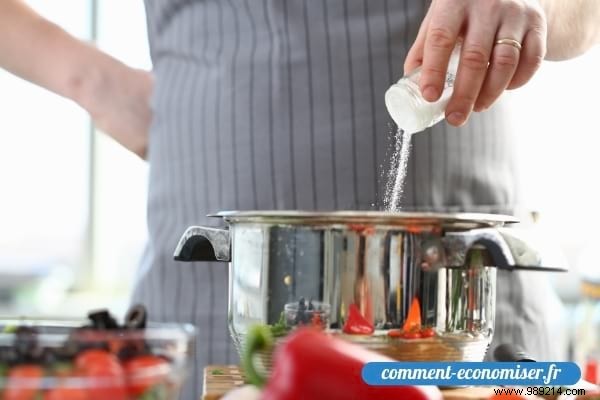
When you cook pasta in boiling water, it absorbs some of that water.
But if the water is not salty enough, the pasta will taste bland.
But by generously salting the cooking water, the pasta will reach its full potential, because it will be seasoned from the inside .
Yum, well done maestro !
Ok, but then what is the right amount of salt, will you tell me?
At this level, it is better to be generous!
The Italians say that the pasta cooking water should be "as salty as the sea".
This is a colorful exaggeration, but not that far from the truth.
Indeed, remember that most of the salt will dissolve in water.
Thus, to bring flavor to the pasta, the water must be generously salted .

Throwing pasta water down your sink? A big mistake!
Cooking water is the best binder possible for the sauce of a pasta dish.
Rich in starch, pasta cooking water is perfect for adding body to your sauce.
In addition, the cooking water is already salty. So seasoning your dish is even easier.
And rest assured, it's not complicated.
The next time you make pasta, reserve two generous ladlefuls of cooking water to add to your sauce .
More precisely, this represents approximately 10 to 12 cl of cooking water.

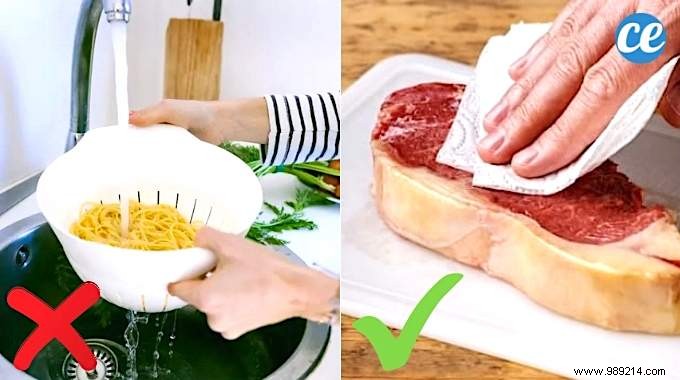
Especially not!
By rinsing the pasta, you will remove all the starch that covers it.
However, this starch is perfect for binding and giving body to the sauce of your delicious pasta dish.
There are only two exceptions to this rule.
You must rinse the pasta when you stir-fry it in the wok or to prepare a pasta salad.
This is one of the most common rookie mistakes in the kitchen.
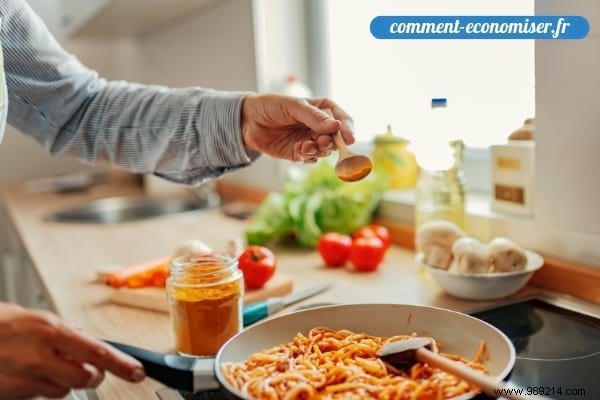
Don't wait until the end of cooking to add spices to your dishes.
For a tangy and seasoned taste, add salt and pepper throughout cooking . And not only at the end!
Likewise, remember to ALWAYS taste your preparations during cooking.
This is what will allow you to correct the situation and find the perfect seasoning for your recipes.

When it comes to seasoning, beginners tend to only add salt.
However, it is also essential to add a touch of acidity to your dishes.
It's even as important as salting a dish!
Indeed, it is often the acidity that separates a good dish from an exceptional dish.
Besides, it's far from complicated.
A dash of squeezed lemon or vinegar at the end of cooking, and your savory dishes become instantly more delicious.
The acidity adds a subtle (but essential) touch, which binds and intensifies all the other flavors in your recipes.
Try it, and you'll tell me about it!
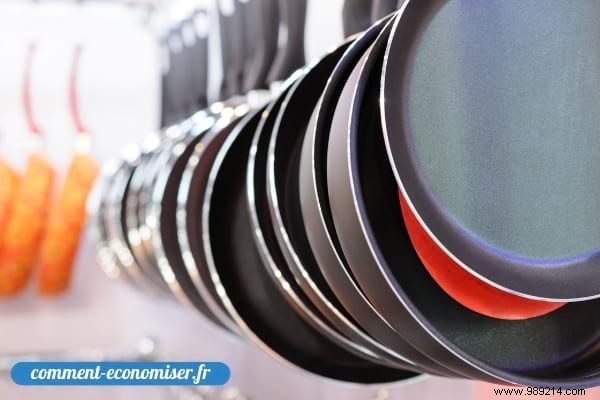
For cooking omelet, scrambled or fried eggs, there's nothing like a non-stick pan.
But to cook all other foods, be aware that non-stick pans are not the most suitable!
Because of their coating, they don't get as hot than traditional stoves.
Non-stick pans have another disadvantage:they don't distribute the heat evenly.
So if you need to sear or cook your ingredients at a consistently high temperature, skip the non-stick pan.
Instead, use a cast iron or sheet steel pan.
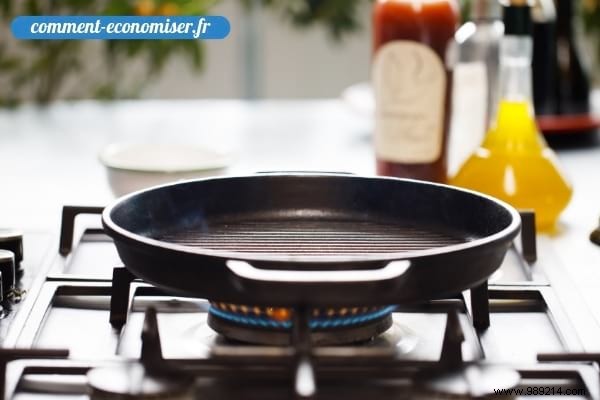
It takes almost always Preheat your pan before adding ingredients. And for several reasons.
When you need to sear meat, for example.
If you place a piece of meat in a lukewarm skillet, it will not sear evenly.
In addition, the meat may stick to the pan.
Conversely, letting the pan heat up sufficiently prevents food from sticking .
When you add vegetables to a pan, they lose some of their moisture.
If the pan is hot enough, the moisture will evaporate right away.
But if it's not hot enough, the moisture will stay in the pan.
As a result, instead of sautéing your vegetables, they will steam and be soggy.
With a hot pan, you are sure that your meats and vegetables will be perfectly sautéed and browned.
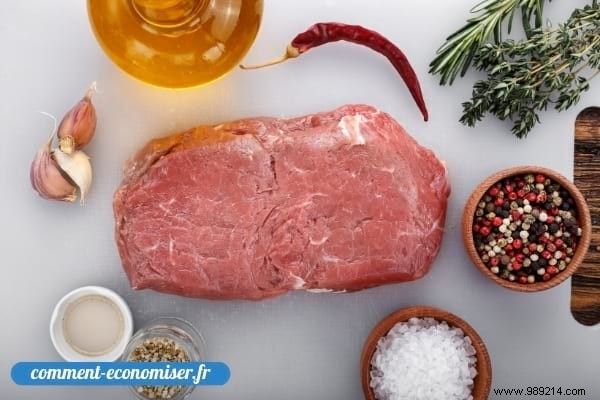
Some cuts of meat require slow cooking over low heat.
Other cuts, especially the tender ones, need to be grilled or pan-fried and require quick, high-heat cooking.
Find out more to be sure to buy the cut of meat best suited to your recipe .
And if in doubt, ask your butcher which cut of meat to choose (and how to cook it).

No need to stir ingredients and check for doneness every three seconds!
When cooking, beginners tend to want to turn and stir ingredients way too often.
On the contrary, be patient and let the cooking work its magic .
Try to turn or stir the ingredients in the pan as little as possible.
This is what will give them a beautiful golden color, a better texture and more flavors.

Olive oil is not only delicious, but also has many health benefits.
However, few people know that olive oil is not at all suitable for high temperature cooking !
This is because all oils and fats have what is known as a smoke point.
This is the temperature from which an oil will produce smoke continuously.
However, the smoke point of olive oil is only 190°C .
Using olive oil to fry or sear food will produce a lot of smoke!
To learn more about smoke points and which cooking oils to use depending on your recipe, click here.
A sharp knife is not only more effective, but also less dangerous to use.
Admittedly, using a knife with a very sharp blade is always a little scary.
However, it is with knives that cut badly that accidents happen!
It makes sense:the duller the blade, the more pressure you have to put in to use it.
And the more pressure you put, the more likely your knife is to slip and cause injury.
Ideally, you should sharpen your kitchen knife at least once a week with a gun like this.
Exactly as Gordon Ramsay does, in the GIF above.
This will keep the blade straight and sharp, but it won't sharpen it.
Thus, it is also advisable to sharpen your knife approximately every two months , with a whetstone.
And for best results, you can also have your knife sharpened by a professional, once a year.
Don't have a sharpening steel or sharpening stone handy?
Know that there is also a grandmother's trick to sharpen your knife with the underside of a cup. Click here to find out.

Of course, keeping your cooked food at room temperature for too long is not recommended.
Indeed, some preparations begin to develop bacteria if left unrefrigerated for more than two hours.
But that doesn't mean you have to put your hot food straight in the fridge.
Heat causes condensation and increases the temperature of the refrigerator.
Thus, a dish that is too hot can compromise the preservation of all the other foods in your refrigerator.
To avoid this, never put hot or hot food directly in the refrigerator.
Instead, put your hot (but not hot) food in small, airtight food containers.
Also remember to leave enough space between the hot food and the rest of the food.
This will allow the air to circulate well around the hot foods and cool them as quickly as possible.
To discover: Which Foods Don't Need to be Refrigerated?

Everyone has already experienced this situation:very motivated, you start a recipe.
All the ingredients are there. You're hot, and you start cutting and preparing the ingredients.
And there, right in the middle of the recipe, is the disaster.
You realize chicken needs to marinate in the refrigerator… for AT LEAST 5 hours!
Rest assured, there is an easy solution to avoid this kind of culinary disaster.
Just read the recipe entirely BEFORE starting it.
It only takes two minutes, but it can save you hours of wasted work.
To discover: A Smart Trick To Follow A Cooking Recipe Easily.
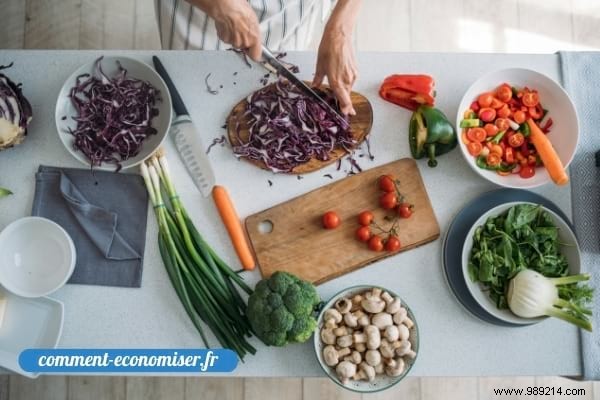
Preparing all the ingredients in advance is an essential step if you want to cook without stress.
It's as important as reading the whole recipe.
Admittedly, mincing and dicing vegetables isn't the most exciting part of recipes.
Beginners are burning with impatience to be in front of the stove, with a spatula in hand.
But in the kitchen, it is essential to master the art of mise en place .
This is what separates amateurs from professional chefs.
So, what exactly is setting up?
In catering, mise en place is all the preparations for making a dish.
So the first thing you need to do even before to start cooking is to prepare all your ingredients.
This means that all ingredients must be weighed , peeled and cut if necessary , and tidy in their place.
This way, when cooking a risotto, for example, you no longer waste time measuring the wine.
Instead, you can calmly continue mixing your delicious risotto, like the pros do.
Remember:preparing your ingredients in advance means less stress and less mistakes in the kitchen!
To discover: Finally a tip for weighing ingredients WITHOUT a scale!
Cooking vegetables or meat forms cooking juices.
These drippings tend to stick to the bottom of the pan.
But above all, do not throw them away!
In the kitchen, these juices and particles are worth their weight in gold, thanks to a process called deglazing .
When deglazing, add a liquid to the hot pan.
This creates a thermal shock that loosens and dilutes the juices from grilled vegetables and meat.
To deglaze a pan, use any liquid:wine, broth, lemon juice, tomato sauce or even water.
Then, rub lightly to loosen all the juices, and leave to simmer for a deliciously aromatic sauce.
As a result, you get a sauce flavored with the juices of your grilled vegetables or meat. A real treat!

Does your roast look cooked to perfection?
Except that half the time, you get fooled by appearances, because the inside is not cooked enough.
Some claim that the sound of grilling meat is the way to tell if it is done.
Others say look at the color of the juice.
Some people think that you have to touch the meat, because the cooking is confirmed by the texture.
In reality, none of these methods can know precisely if your meat is cooked to perfection.
Especially for chicken, which should always be cooked through.
Beware of the temperatures displayed on the ovens, as they may vary from oven to oven.
Similarly, oven grills also tend to overheat, or underheat.
To avoid these problems, invest in a cooking thermometer .
It's simply the best and most precise way to cook meats to perfection.
And rest assured, you can find cooking thermometers on the cheap.
To discover: Blue, Rare, Medium:The Guide to Never Mess About Cooking a Steak Again.
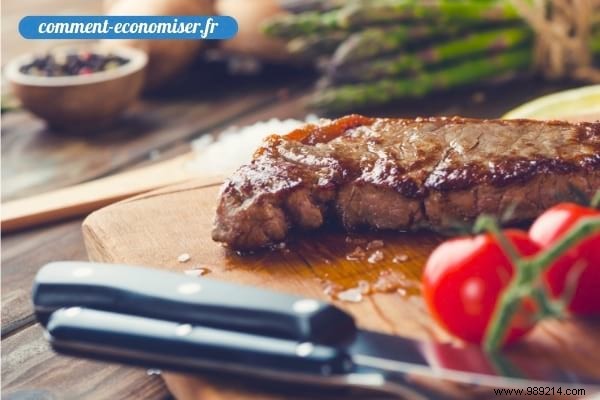
Whether it's a steak or a just-cooked roast...
We often tend to cut and taste the meat as soon as it is cooked.
But that's a mistake!
The meat is much more tender and juicy if you let it sit for fifteen minutes.
By letting it rest, the meat will relax and the juices will be redistributed in the piece of meat.
So remember to take your piece of meat out of the oven or grill BEFORE eating.
To prevent it from cooling, cover it with aluminum foil and let it rest for a while.
To discover: 11 Chef's Tricks To Tenderize Meat (And Make It Tender).
There are many tips for successful homemade shortcrust pastry.
But the secret to making your pie dough a success is to use the infallible "3-2-1" method .
It's easy as pie. Just put:
- 3 volumes flour,
- 2 volumes of butter and
- 1 volume fresh water.
For example, for 300 gr of flour you need to add 200 gr of butter and 100 ml of water.
Keep this magic formula in mind, and your pie crusts will be perfect every time.

Baking is like chemistry:you have to be precise.
Whether baking cookies, cakes or pies…
It is very important to respect the quantities indicated in the recipe!
To measure flour, many people use a measuring cup or measuring spoon.
But did you know that it is not recommended to take the flour out of the bag with your measuring spoon?
Indeed, because by using a container to take out the flour, you risk packing it.
As a result, you will use more flour than necessary, and the recipe will fail.
In fact, it is for this reason that it is better to use a scale to weigh your ingredients.
This is by far the most accurate method.
But maybe you don't have a scale?
So here's the right way to use a measuring cup or measuring spoon to measure flour:
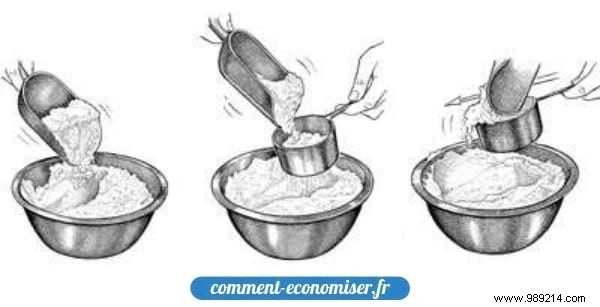
1. Mix the flour with a fork to aerate it well the flour with the help of a fork.
2. Use a tablespoon to sprinkle the flour in the measuring cup, but without packing it.
3. Once the measuring cup is full, use the back of a knife to level flour and get an exact measurement.
To discover: How To Replace Wheat Flour Easily? 8 Tips to Know.
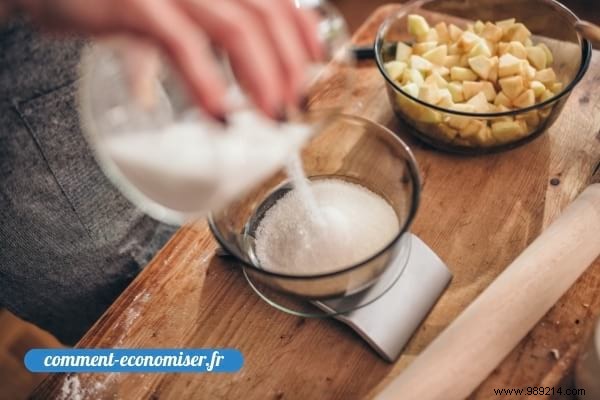
It's like I just mentioned before.
With a kitchen scale, you get the exact weight of all your ingredients with precision.
Do you want to succeed in your pastry recipes?
So, invest in a kitchen scale like this. It is an essential kitchen accessory.
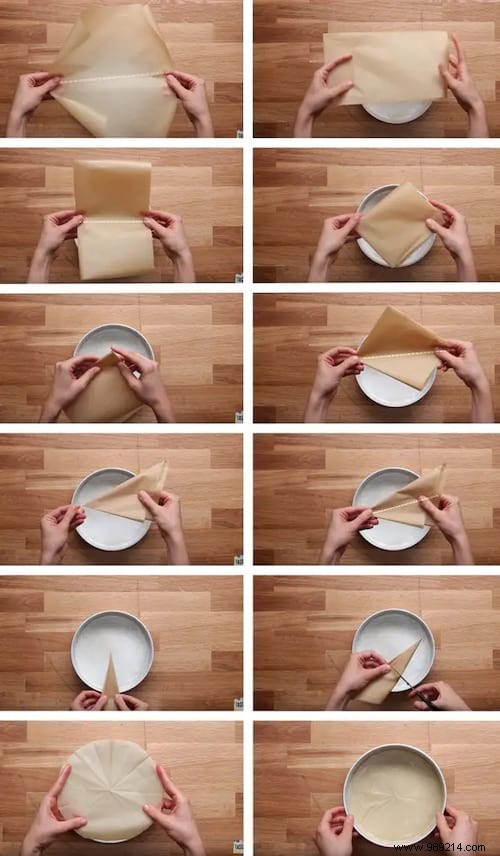
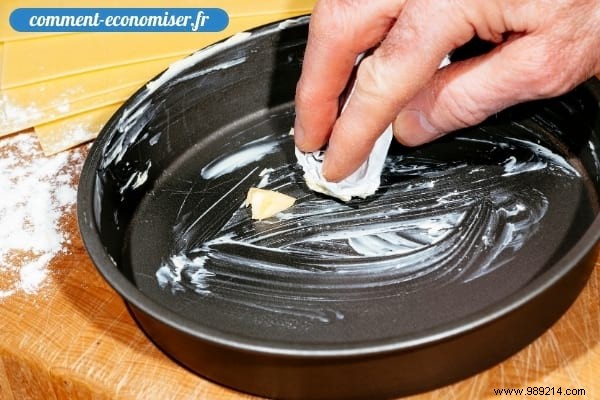
To avoid ending up with a cake that does not come out of the mold, you must first butter the mold.
In the kitchen, this process is called "lining the mould".
But in addition to the butter, it is also recommended to line the mold with parchment paper .
By lining the mold with butter and baking paper, your cake will unmold without any effort.
Your mold in the round? So, follow the steps above to cut the parchment paper into a perfect circle.
To discover: Replace Parchment Paper With My 3 Kitchen Tips.
As soon as your cake batter is ready, put it in the oven, and as soon as possible.
Why ? It's because of the leavening agents in baking powder or baking soda.
Raising agents make the dough rise.
And they have immediately need heat to give this delicious softness to your cake.
This is why you should always butter your pan and preheat the oven BEFORE preparing the dough.
If you do these steps at the last minute, you will waste valuable time.
Indeed, even with just a few more minutes, your dough may not rise!
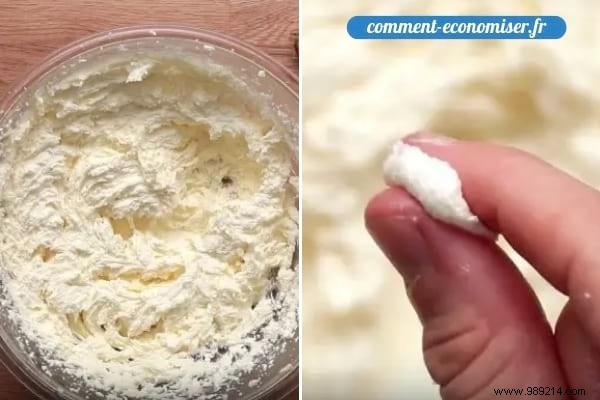
In baking, creaming the butter and sugar means making this mixture frothy and creamy, whisking it vigorously.
Thus, it is a question of beating and transforming the butter-sugar mixture into cream.
This operation will make your cake batters lighter and airy, just the way we like them.
In pastry recipes, you may see this mention:
"Cream the sugar and butter until smooth and creamy. "
That doesn't mean you have to whip the butter and sugar together for a few seconds.
In reality, creaming butter and sugar is a slow process , which takes about five minutes.
So don't skip this step and take the time to cream your butter well, like this:
- Work the butter with an electric mixer for at least 5 min.
- Add the sugar and beat again to incorporate air and make the dough lighter and creamier.
Know that there is a little trick to know if you have creamed the butter-sugar mixture well.
Just take a little cream and rub it between your thumb and forefinger.
If you smell the sugar crystals, keep working the mixture.
And if the cream is perfectly smooth, it's all good!
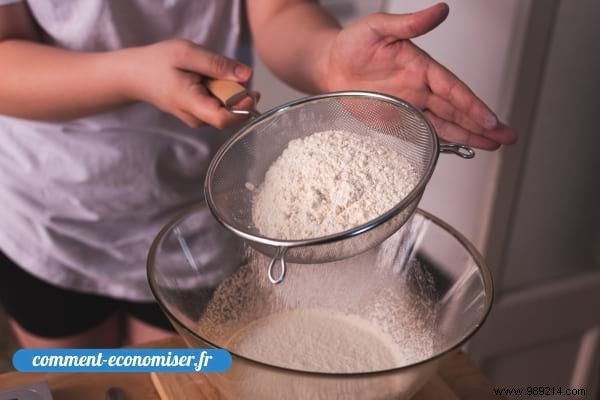
Passing the dry ingredients through a sieve is not always necessary.
But if a recipe specifies sifting certain ingredients, it's not to bother you!
If you don't pass them through a sieve to obtain a very fine powder, your dough will be lumpy . And no one wants that.
Baking is like chemistry:you need precision.
And that, I will never repeat it enough!
If you make the effort to weigh all the ingredients in your recipe accurately...
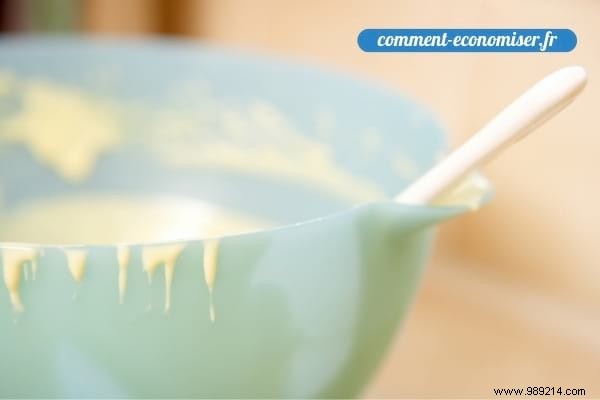
So don't forget to scrape off the cake batter and leftover flour inside the mixing bowl.
At each step of the recipe, be sure to scrape the mixing bowl well with a silicone spatula.
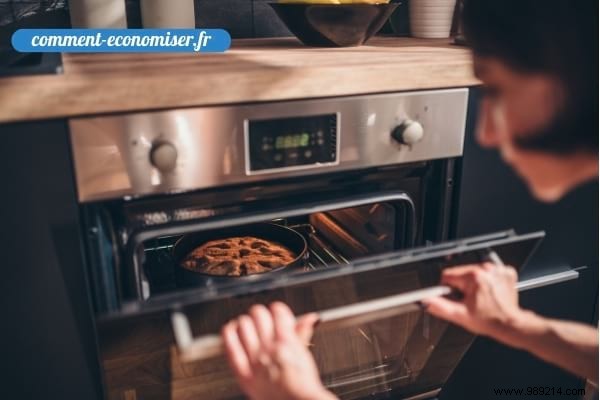
Who hasn't made the mistake of opening the oven door while cooking?
However, there is no need to open the oven door when baking a cake.
By dint of opening the door, outside air will enter the oven and the heat will no longer be uniform.
Result:this will prevent the dough from rising properly and your cake will fall back immediately.
Do you really want to see what your cake looks like before the end of baking?
So better use the oven light and peek through the door glass.
Otherwise, wait until the end of the cooking time before opening the oven door. But not before!

Want to frost a cake that's still warm?
Then you are doomed.
Not only is your frosting likely to melt, your cake is also likely to crumble.
As a result, your icing will never be smooth and clean.
I know I know. You can't wait to put the finishing touches on your beautiful creation.
But trust me.
Before covering your cake with icing, wait for it to cool completely.
To discover: The Magic Technique to Easily Frost a Cake.
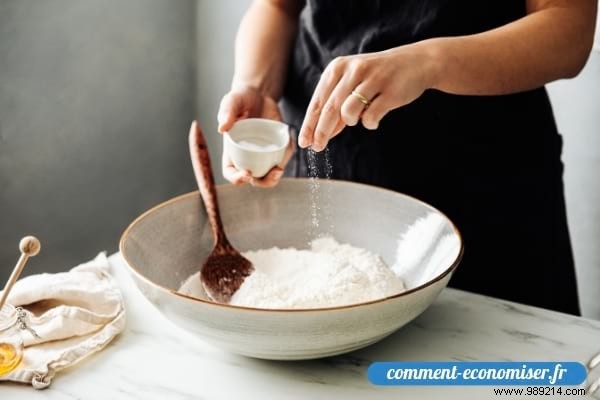
Does it seem unlikely to you to put salt in pastry recipes?
And yet, salt is an essential ingredient in pastries, because it acts as a flavor enhancer .
In fact, salt brings out the taste of the foods it accompanies.
So when you put it in your cake batter, it will have more flavor.
Next time it's called for in a baking recipe, don't forget to add the pinch of salt.

Cake and pastry recipes often contain butter.
And often, these recipes specify that the butter should be at room temperature .
And it's for a good reason!
In baking, it is the chemistry of the butter-sugar mixture that is responsible for the texture.
Indeed, it creates small air pockets that give the cakes this soft and irresistible texture .
But if the butter is too cold, it prevents the sugar from incorporating.
And when the butter is too hot, it melts the sugar.
Don't have the time or the patience to wait for your butter to come to room temperature?
So, know that there is a great grandmother's trick to soften cold butter:
- Cut the required amount of butter into small pieces.
- Put the pieces on a large plate.
- Fill a large bowl with hot water and empty it.
- Cover the pieces of butter with the bowl, like a bell.
Make sure the sides of the bowl don't touch the butter.
Wait a few minutes until the butter is soft enough, and your recipe is ready!
To discover: How to Make Homemade Butter VERY Easily.

No, contrary to what most people think...
Oiling the barbecue grill will not prevent the meat from sticking to the grill!
L'huile sur la grille va juste brûler et atteindre son point de fumée.
Résultat, cela va donner un arrière-goût désagréable aux aliments que vous faites griller.
La solution ?
Au lieu de mettre de l’huile sur la grille, essayez de badigeonner vos aliments avec de l’huile .
To discover: 14 Astuces Simples et Efficaces Pour Nettoyer la Grille du Barbecue.
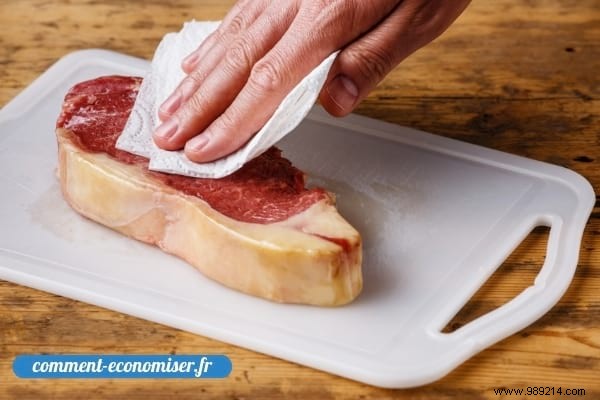
Pour bien saisir la viande, il est essentiel d'enlever les excès d'humidité.
Moins il y a d’eau à la surface de la viande, plus elle va bien griller et dorer manière uniforme.
C’est pour cette raison que la viande doit être aussi sèche que possible avant de la faire griller.
En plus, c'est très simple à faire. Il suffit de tapoter les deux faces de la viande avec un essuie-tout .
Sachez que cette opération concerne tous les aliments à haute teneur en protéines, y compris le poisson et le tofu.
To discover: La Meilleure Astuce pour Faire Cuire du Poisson Grillé au Barbecue.

Si une recette indique de faire cuire quelque chose à une température précise...
Cela signifie que votre four doit être à cette température AVANT d'y enfourner la préparation.
En d'autres termes :il faut toujours préchauffer le four avant d'y mettre quoi que ce soit !
Je sais, cela peut paraître évident.
Et pourtant, enfourner un plat dans un four qui n’est pas préchauffé est une erreur de débutant fréquente.
De plus, sachez que la température varie énormément d’un four à l’autre !
En effet, souvent, la température affichée ne correspond pas à la température réelle.
Or, la température est essentielle pour réussir les recettes de gâteau et autres pâtisseries.
Ainsi, pour être sûr que votre four est à la bonne température, il est recommandé d’utiliser un thermomètre à four.
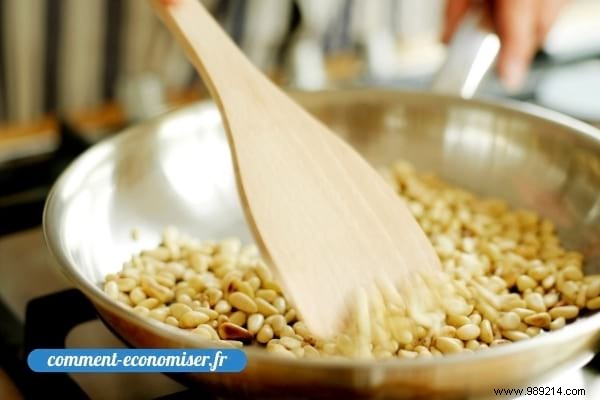
Votre recette contient des pignons, des amandes, des noisettes ou autres fruits à coque ?
Prenez le temps de les faire griller ! L'opération est facile et rapide.
Et c'est la petite touche qui peut faire toute la différence entre un bon plat et un plat exceptionnel.
Vous pouvez faire griller les fruits secs à la poêle, avec un peu d’huile .
Retirez-les du feu dès qu’ils ont une belle couleur dorée puis enlevez l’excédent d'huile avec un essuie-tout.
Vous pouvez aussi utiliser une plaque à pâtisserie et les faire griller au four pendant 10 min à 180°C .
Results ? Vos fruits secs sont encore plus savoureux et apportent du croquant à votre plat. Yum!
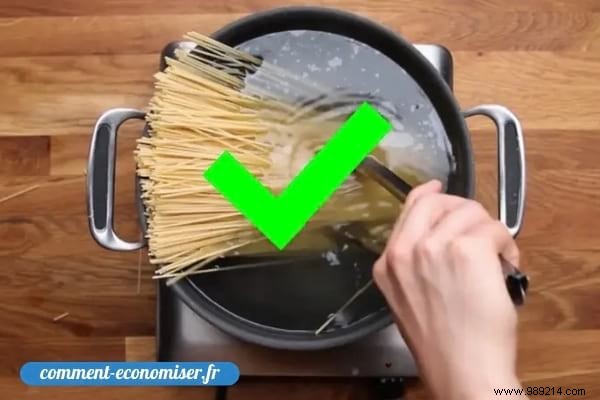
Utilisez toujours une grande casserole pour faire cuire les pâtes.
Cela va empêcher les pâtes de coller, car elles ont besoin de place pour remuer à l'intérieur la casserole.
Et, contrairement à ce que font beaucoup de gens, ne mettez pas d’huile d'olive dans l'eau de cuisson !
Why ? Car l'huile va lubrifier les pâtes, ce qui va les empêcher de se lier à la sauce.
Pour éviter que vos pâtes collent, il suffit de les mélanger très souvent, surtout en début de cuisson.
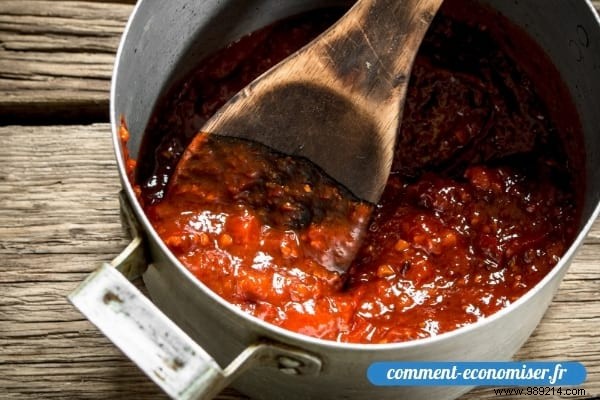
Les débutants servent souvent leur assiette de pâtes, avec les pâtes juste égouttées et la sauce posée sur le dessus.
Ainsi, les pâtes et la sauce sont à mélanger au moment de déguster.
Il s'agit pourtant d'une erreur ! Voici le bon procédé :
D'abord, faites cuire vos pâtes al dente et égouttez-les.
Après, versez vos pâtes directement dans la sauce (dans une poêle ou un saladier).
Et mélangez-les tout de suite, sans attendre. Why?
Comme ça, les pâtes vont s'imbiber parfaitement et de manière uniforme de toute votre bonne sauce.
En plus, l'amidon des pâtes va les lier à la sauce, et elles ne colleront pas.